No-Churn Cotton Candy Ice Cream: A Whimsical Frozen Treat
Imagine the nostalgic taste of carnival cotton candy transformed into a creamy, luxurious ice cream that melts on your tongue. This No-Churn Cotton Candy Ice Cream brings the magic of the fairground straight to your freezer, requiring no special equipment and just four simple ingredients. Whether you’re hosting a summer party, treating your kids to something special, or simply indulging your sweet tooth, this recipe delivers restaurant-quality results with minimal effort.
The beauty of no-churn ice cream lies in its simplicity. Unlike traditional ice cream recipes that demand an expensive ice cream maker and constant monitoring, this method relies on the perfect marriage of whipped cream and sweetened condensed milk to create that signature creamy texture we all crave. The whipped cream provides airiness and volume, while the sweetened condensed milk adds sweetness and prevents ice crystals from forming during the freezing process.
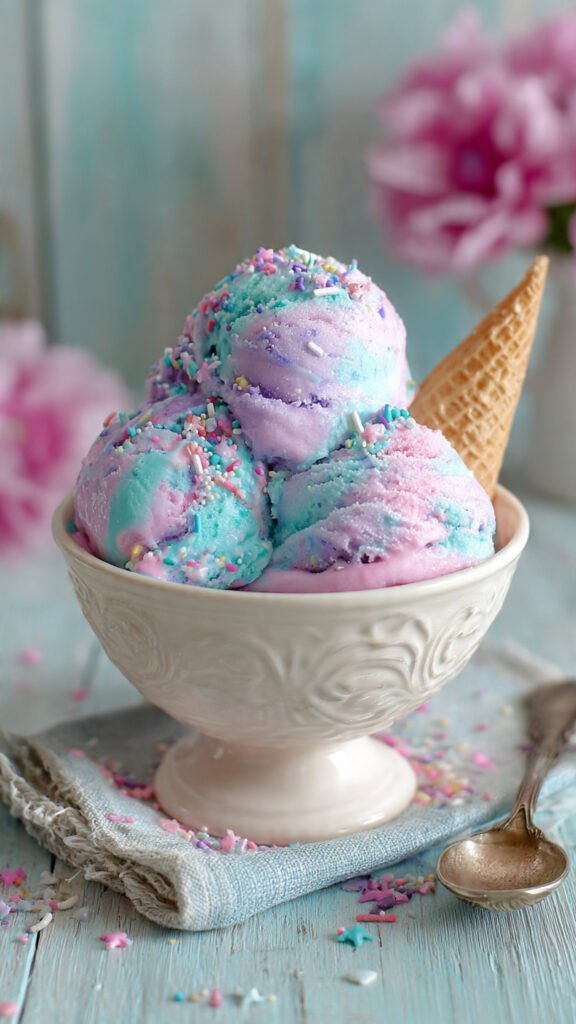
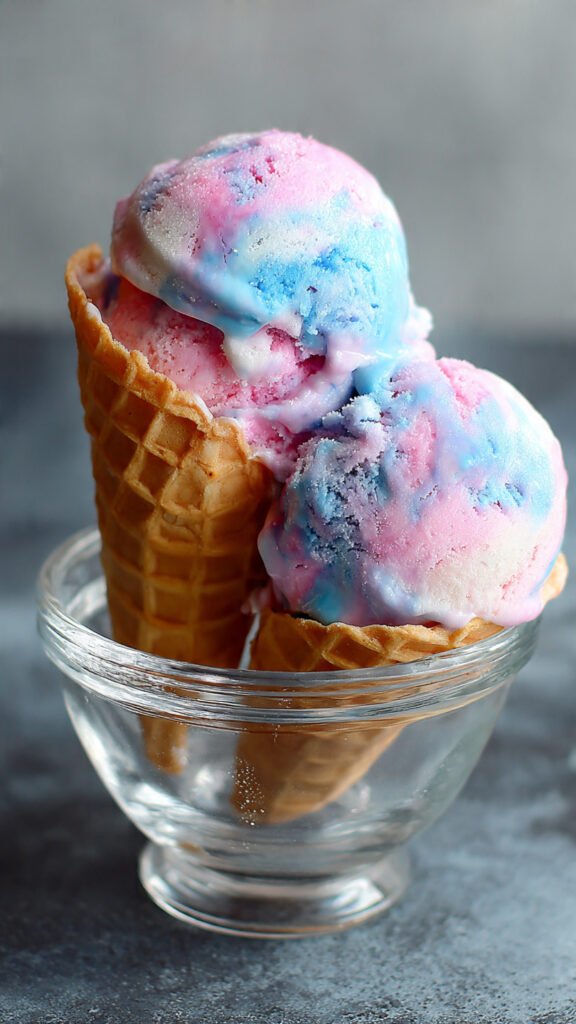
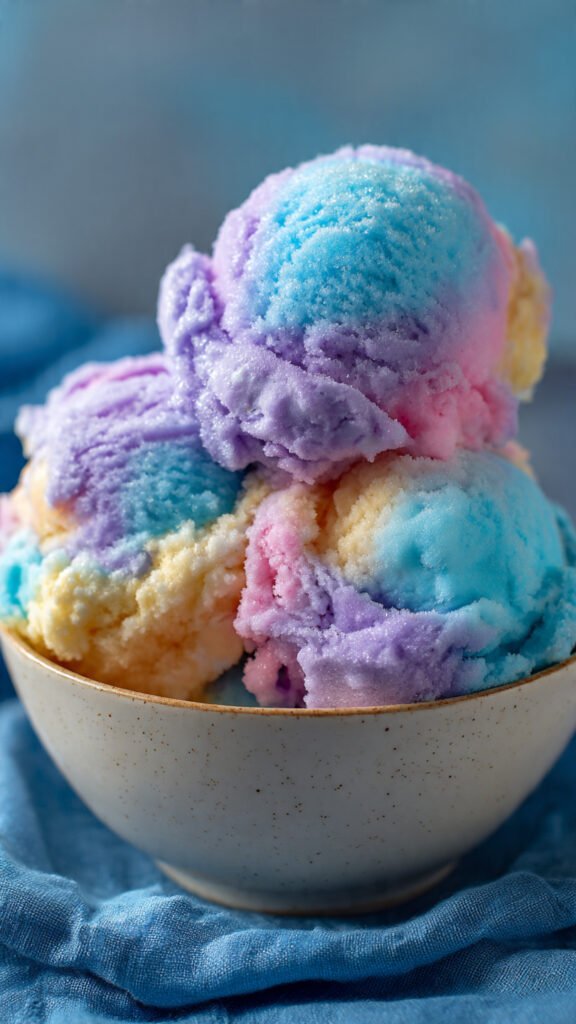
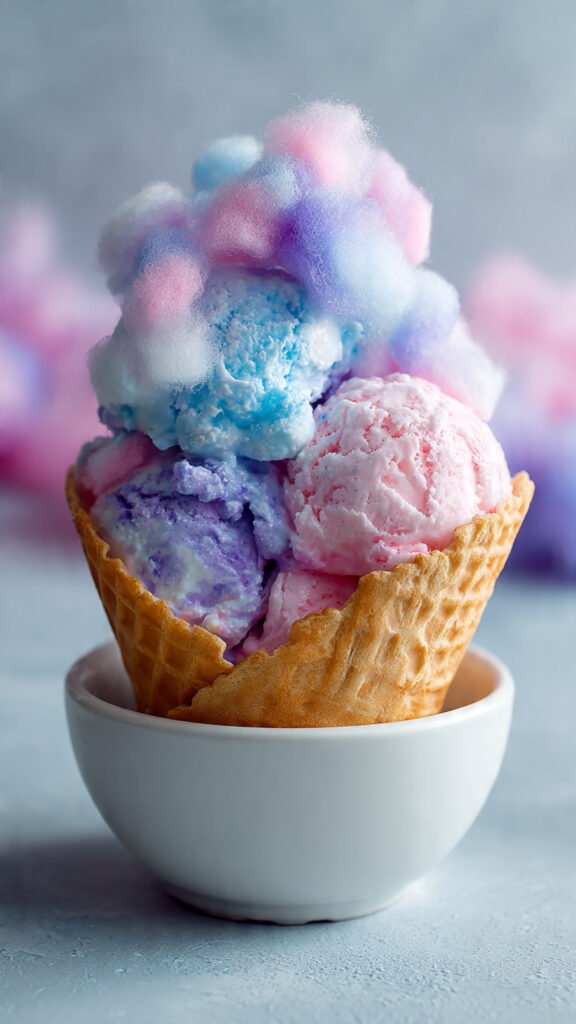
What makes this particular recipe truly special is the cotton candy flavoring, which captures that distinctive spun-sugar taste that instantly transports you back to childhood memories of fairs, carnivals, and summer celebrations. The addition of pink and blue food coloring creates a visually stunning swirl pattern that looks as impressive as it tastes, making this dessert perfect for sharing on social media or serving at birthday parties.
Essential Ingredients
This recipe keeps things beautifully simple with just four core components:
- 2 cups of very cold heavy whipping cream (the foundation of your creamy base)
- 1 can (14 ounces) of sweetened condensed milk, well-chilled
- 2 teaspoons of cotton candy flavoring extract
- Food coloring in pink and blue (optional, but highly recommended for that authentic carnival appearance)
The temperature of your ingredients matters significantly. Using cold heavy cream ensures it whips up quickly and holds its peaks better, while cold condensed milk blends more smoothly into the mixture without deflating your carefully whipped cream.
Step-by-Step Preparation Guide
Preparation Phase
Begin by preparing your equipment properly. Place your loaf pan, large mixing bowl, and whisk attachment in the freezer for approximately 30 minutes before you start cooking. This pre-chilling step is crucial because cold equipment helps maintain the temperature of your ingredients throughout the mixing process, resulting in a smoother final texture. While your equipment chills, ensure your heavy whipping cream and sweetened condensed milk are thoroughly refrigerated.
Whipping the Cream
Remove your chilled bowl and whisk from the freezer. Pour the cold heavy whipping cream into the bowl and begin beating it at medium-high speed. You’re aiming for stiff peaks, which typically takes about four minutes with a stand mixer or slightly longer with a hand mixer. Stiff peaks form when you lift the whisk from the cream and the peak stands straight up without drooping. This stage is critical—under-whipped cream won’t hold its structure during freezing, while over-whipped cream can turn grainy and buttery.
Creating the Base Mixture
In a separate medium-sized bowl, combine the sweetened condensed milk with the cotton candy flavoring. Stir these ingredients together gently but thoroughly until the mixture is completely smooth and the flavoring is evenly distributed. The condensed milk should take on a slightly fragrant, sweet aroma reminiscent of spun sugar.
The Folding Technique
This next step requires a gentle touch and patience. Gradually add the condensed milk mixture to your whipped cream, but here’s the key: fold it in rather than stirring vigorously. Folding means using a spatula to cut down through the center of the mixture, sweep along the bottom of the bowl, and bring the mixture up and over. Rotate the bowl slightly and repeat. This technique preserves the air you’ve incorporated into the whipped cream, which is essential for achieving that light, creamy texture in your finished ice cream.
Adding Color and Visual Appeal
Once your base mixture is uniform, divide it equally between two separate bowls—you should have approximately three cups in each bowl. Add several drops of pink food coloring to one bowl and blue food coloring to the other. The amount of coloring depends on how vibrant you want the final result. Start with a few drops and add more gradually until you achieve your desired shade. Mix each bowl gently to distribute the color evenly.
Layering and Freezing
Retrieve your pre-chilled loaf pan from the freezer. Now comes the fun part—creating the swirled pattern. Using a large spoon, alternate dropping spoonfuls of pink and blue ice cream mixture into the pan. Don’t worry about making it perfect; the random placement creates a natural, beautiful marbled effect. Continue until all the mixture is in the pan.
For an extra touch of whimsy, sprinkle colorful jimmies or fun sprinkles over the top before freezing. This adds textural contrast and makes the presentation even more festive.
Cover your pan tightly with plastic wrap or a lid and transfer it to the freezer. Let it freeze overnight, or for at least eight hours, until completely solid. The long freezing time allows the flavors to meld and the texture to become perfectly scoopable.
Serving Suggestions and Tips
When you’re ready to serve, remove the ice cream from the freezer and let it sit at room temperature for about five minutes to soften slightly. This makes scooping easier and brings out the full flavor of the cotton candy. Use a warm ice cream scoop (run it under hot water and dry it between scoops) for the smoothest results.
This ice cream pairs wonderfully with a variety of toppings and accompaniments. Consider serving it in sugar cones for the full carnival experience, or create an indulgent sundae with chocolate sauce, whipped cream, and extra sprinkles. For an adult twist, drizzle with a berry compote to balance the sweetness.
The recipe can be easily customized to suit different preferences or occasions. While the pink and blue color scheme evokes classic cotton candy, you could use different colors for themed parties—purple and green for a Mardi Gras celebration, red and white for Valentine’s Day, or school colors for graduation parties.
Nutritional Information
Each serving contains approximately 278 calories, with 29 grams of fat (18 grams saturated), 2 grams of carbohydrates, and 2 grams of protein. Additional nutritional details include 109 milligrams of cholesterol, 30 milligrams of sodium, and 60 milligrams of potassium. The dessert also provides small amounts of vitamins A and C, along with 52 milligrams of calcium.
Storage and Make-Ahead Options
This ice cream stores beautifully in the freezer for up to two weeks when properly covered. For longer storage, press plastic wrap directly onto the surface before covering with a lid to prevent freezer burn. The texture remains creamy and scoopable throughout the storage period, making it an excellent make-ahead dessert option for parties and gatherings.
This No-Churn Cotton Candy Ice Cream proves that impressive desserts don’t require professional equipment or complicated techniques. With just four ingredients and a little patience, you can create a frozen treat that delights both children and adults alike, bringing the joy of the carnival into your home any day of the year.