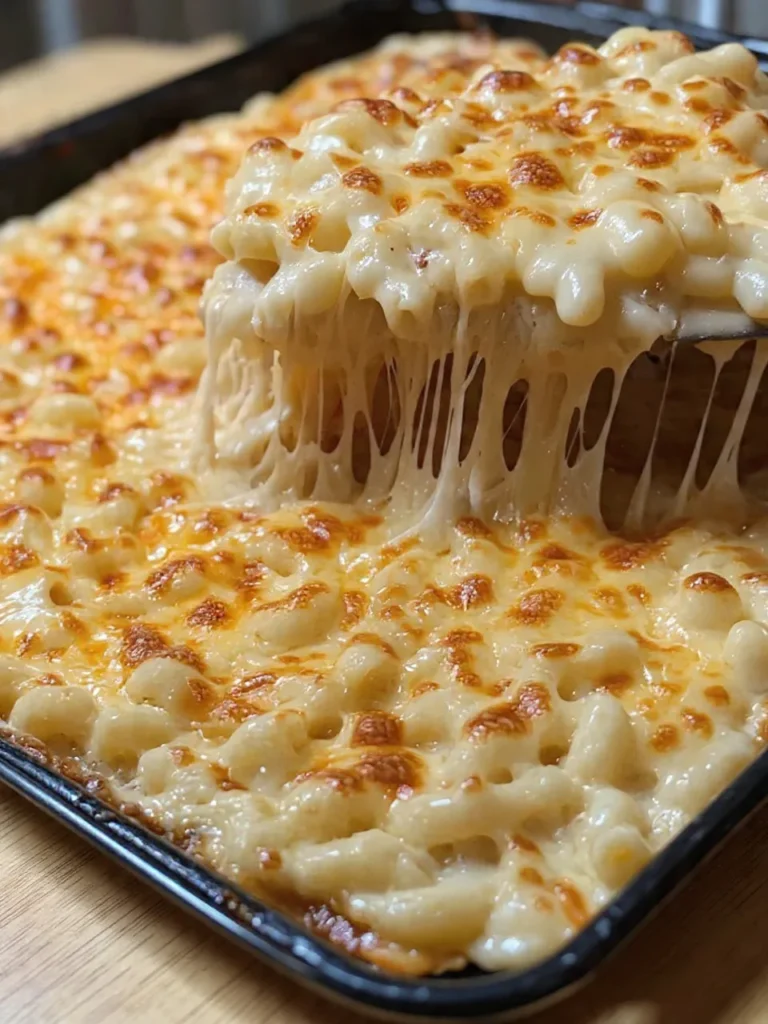
Homemade Baked Mac and Cheese Recipe
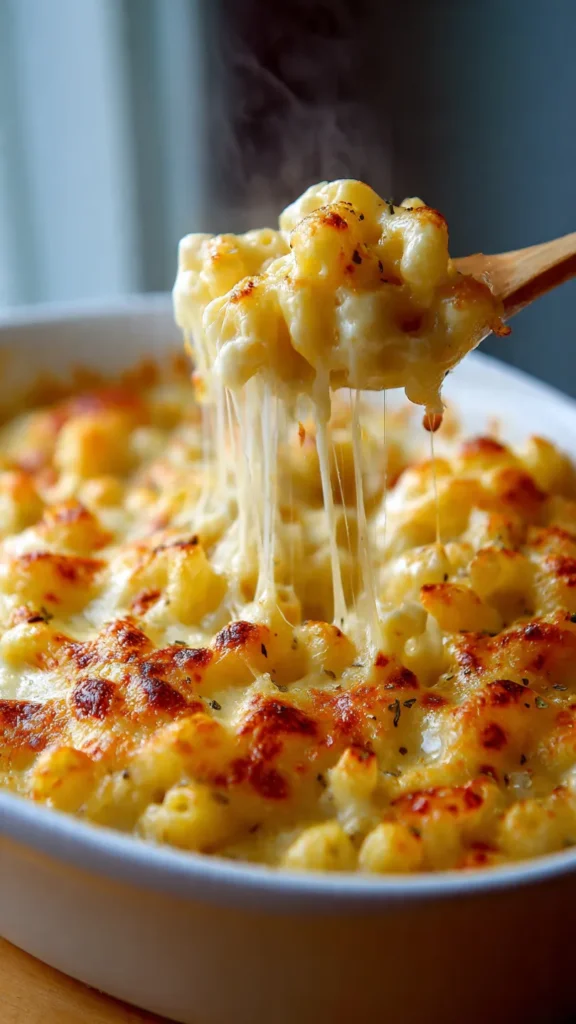
There’s something magical about the moment a bubbling dish of baked mac and cheese emerges from the oven. The golden-brown crust crackles invitingly, steam rises in delicate wisps, and that unmistakable aroma of melted cheese fills your kitchen with pure comfort. This isn’t just any mac and cheese—this is the recipe that will become your go-to comfort food, the one you’ll make for family gatherings, potlucks, and those evenings when only the creamiest, cheesiest dish will do.
What sets this homemade baked mac and cheese apart from the rest is the perfect marriage of three exceptional cheeses: sharp cheddar for bold flavor, Gruyère for nutty sophistication, and Parmesan for that irresistible umami depth. Combined with a silky homemade cheese sauce and crowned with a crispy Panko topping, every forkful delivers multiple layers of texture and taste that boxed versions simply can’t match.
The beauty of this recipe lies not only in its incredible flavor but also in its versatility and approachability. Whether you’re an experienced home cook or just beginning your culinary journey, you’ll find this dish comes together with surprising ease. The technique is straightforward, the ingredients are readily available, and the results are consistently spectacular. Best of all, you can prepare it ahead of time, making it ideal for entertaining or meal planning.
Table of Contents
Why This Recipe Works
The secret to exceptional baked mac and cheese starts with understanding the components that make it special. First, we cook the pasta just shy of al dente because it will continue cooking in the oven, absorbing the creamy sauce while maintaining that perfect tender-firm texture. Nobody wants mushy pasta swimming in separated sauce.
Second, we build a proper cheese sauce using the classic roux method—butter and flour cooked together to create a base that thickens our dairy without any graininess or separation. This technique, borrowed from French cuisine, ensures your sauce stays smooth and creamy even after baking. The combination of whole milk and heavy cream provides richness without being overwhelmingly heavy.
Third, the cheese selection matters immensely. Sharp cheddar delivers that classic mac and cheese flavor we all crave, while Gruyère adds complexity and melts beautifully without becoming greasy. The Parmesan in the topping provides a salty, savory note that ties everything together. Always use freshly shredded cheese rather than pre-shredded varieties, which contain anti-caking agents that can affect how smoothly your sauce comes together.
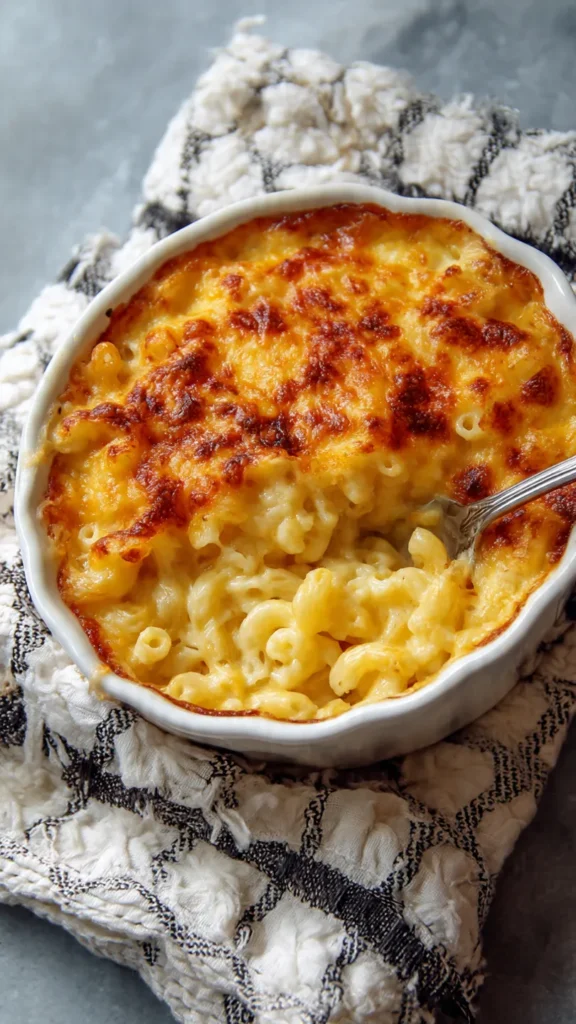
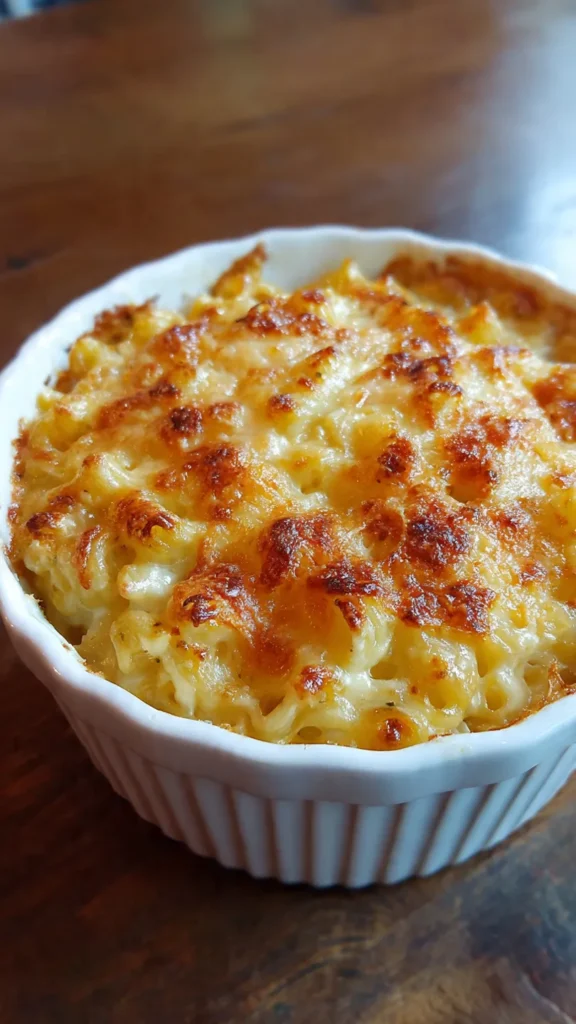
Finally, the Panko breadcrumb topping creates textural contrast that transforms this from simple comfort food into something truly restaurant-worthy. The buttery, crispy top layer gives way to creamy, cheesy pasta beneath—it’s a textural experience that keeps you coming back for just one more bite.
Ingredients You’ll Need
For the Pasta
- 16 oz elbow macaroni or other tubular pasta such as cavatappi or shells
- 1 tbsp extra virgin olive oil
- Salt for pasta water
For the Cheese Sauce
- 6 tbsp unsalted butter
- 1/3 cup all-purpose flour
- 3 cups whole milk
- 1 cup heavy whipping cream
- 4 cups sharp cheddar cheese, freshly shredded
- 2 cups Gruyère cheese, freshly shredded
- Salt and black pepper to taste
- Pinch of garlic powder (optional)
- Pinch of mustard powder (optional, enhances cheese flavor)
For the Topping
- 1 1/2 cups Panko breadcrumbs
- 4 tbsp butter, melted
- 1/2 cup Parmesan cheese, freshly shredded
- 1/4 tsp smoked paprika or regular paprika
- Fresh parsley for garnish (optional)
Step-by-Step Instructions
Preparing the Pasta
Begin by bringing a large pot of generously salted water to a rolling boil. The water should taste like the sea—this is your only opportunity to season the pasta itself. Add the elbow macaroni and cook it for exactly 1 minute less than the package directions indicate for al dente texture. This undercooking is crucial because the pasta will continue cooking in the oven while absorbing the cheese sauce.
Once cooked, drain the pasta thoroughly in a colander and immediately toss it with the olive oil. This prevents the noodles from sticking together while you prepare the sauce. Set aside and keep warm.
Making the Cheese Sauce
In a large, heavy-bottomed saucepan or Dutch oven, melt the butter over medium heat. Once it’s fully melted and just beginning to foam, whisk in the flour all at once. Continue whisking constantly for about 2-3 minutes until the mixture turns a light golden color and develops a slightly nutty aroma. This is your roux, and cooking it properly eliminates any raw flour taste while creating a base that will thicken your sauce beautifully.
Gradually pour in the milk, adding just a splash at first while whisking vigorously to prevent lumps from forming. Once the initial milk is fully incorporated, you can add the rest in a steady stream, whisking continuously. Add the heavy cream and continue whisking as the mixture comes to a gentle simmer. You’ll notice it beginning to thicken after about 5-7 minutes. The sauce should coat the back of a spoon and slowly drip off rather than running right off.
Reduce the heat to low and begin adding your shredded cheeses in handfuls, stirring after each addition until completely melted before adding more. This gradual process ensures smooth incorporation without the cheese seizing up or becoming grainy. Season generously with salt and black pepper to taste, keeping in mind that the Panko topping will add additional saltiness.
Combining and Assembling
Add the cooked pasta to your cheese sauce and fold everything together gently but thoroughly using a large spoon or spatula. Every piece of pasta should be luxuriously coated in that creamy cheese sauce. Take a moment to taste and adjust seasoning if needed.
Prepare a 9×13 inch baking dish by spraying it with cooking spray or rubbing it with butter. Transfer half of your mac and cheese into the prepared dish, spreading it evenly. If you want extra cheesy layers, you can sprinkle a handful of additional cheddar here before adding the remaining pasta mixture on top.
Creating the Perfect Topping
In a medium bowl, combine the Panko breadcrumbs with the melted butter, stirring until all the breadcrumbs are evenly coated. Mix in the shredded Parmesan cheese and smoked paprika. The paprika not only adds a subtle smoky flavor but also contributes to that gorgeous golden color.
Sprinkle this breadcrumb mixture evenly over the entire surface of your mac and cheese, making sure to reach all the edges. Don’t pack it down—you want it to stay light and crispy as it bakes.
Baking to Perfection
Preheat your oven to 350°F and position a rack in the center. Place your assembled mac and cheese in the oven and bake for 25-30 minutes, until the top is golden brown and crispy, and you can see the sauce bubbling up around the edges. If the top is browning too quickly but the dish isn’t bubbling yet, tent it loosely with aluminum foil for the remaining baking time.
Remove from the oven and let it rest for 5-10 minutes before serving. This resting period allows the sauce to set slightly, making it easier to serve neat portions rather than a soupy mess. The wait is difficult when it smells this good, but your patience will be rewarded.
Tips for Success
Always shred your own cheese from blocks rather than buying pre-shredded varieties. Pre-shredded cheese contains cellulose to prevent clumping, which interferes with smooth melting and can make your sauce grainy.
Don’t skip the step of cooking your pasta 1 minute less than al dente. Overcooked pasta will turn mushy during baking and won’t hold up to the sauce properly.
If you’re preparing this dish ahead of time, assemble everything up to the point of adding the breadcrumb topping, then cover and refrigerate for up to 24 hours. Add the topping just before baking, and increase the baking time by 10-15 minutes if baking straight from the refrigerator.
For a lighter version, you can substitute half-and-half for the heavy cream, though the sauce won’t be quite as rich. You can also experiment with different cheese combinations—try adding smoked gouda, fontina, or even a bit of blue cheese for adventurous palates.
This recipe easily feeds 8-10 people as a side dish or 6-8 as a main course. Leftovers reheat beautifully in the microwave or oven, though you may want to add a splash of milk to restore creaminess.
Serving Suggestions
While this baked mac and cheese is certainly substantial enough to serve as a main course, it also makes an outstanding side dish for barbecued meats, roasted chicken, or holiday ham. Consider pairing it with a crisp green salad dressed with a tangy vinaigrette to cut through the richness, or serve alongside roasted vegetables for a more complete meal.
For a fun variation, try adding mix-ins like crispy bacon bits, sautéed mushrooms, caramelized onions, or roasted broccoli florets. Fold these into the pasta before transferring to the baking dish for a one-dish meal with even more flavor and nutrition.