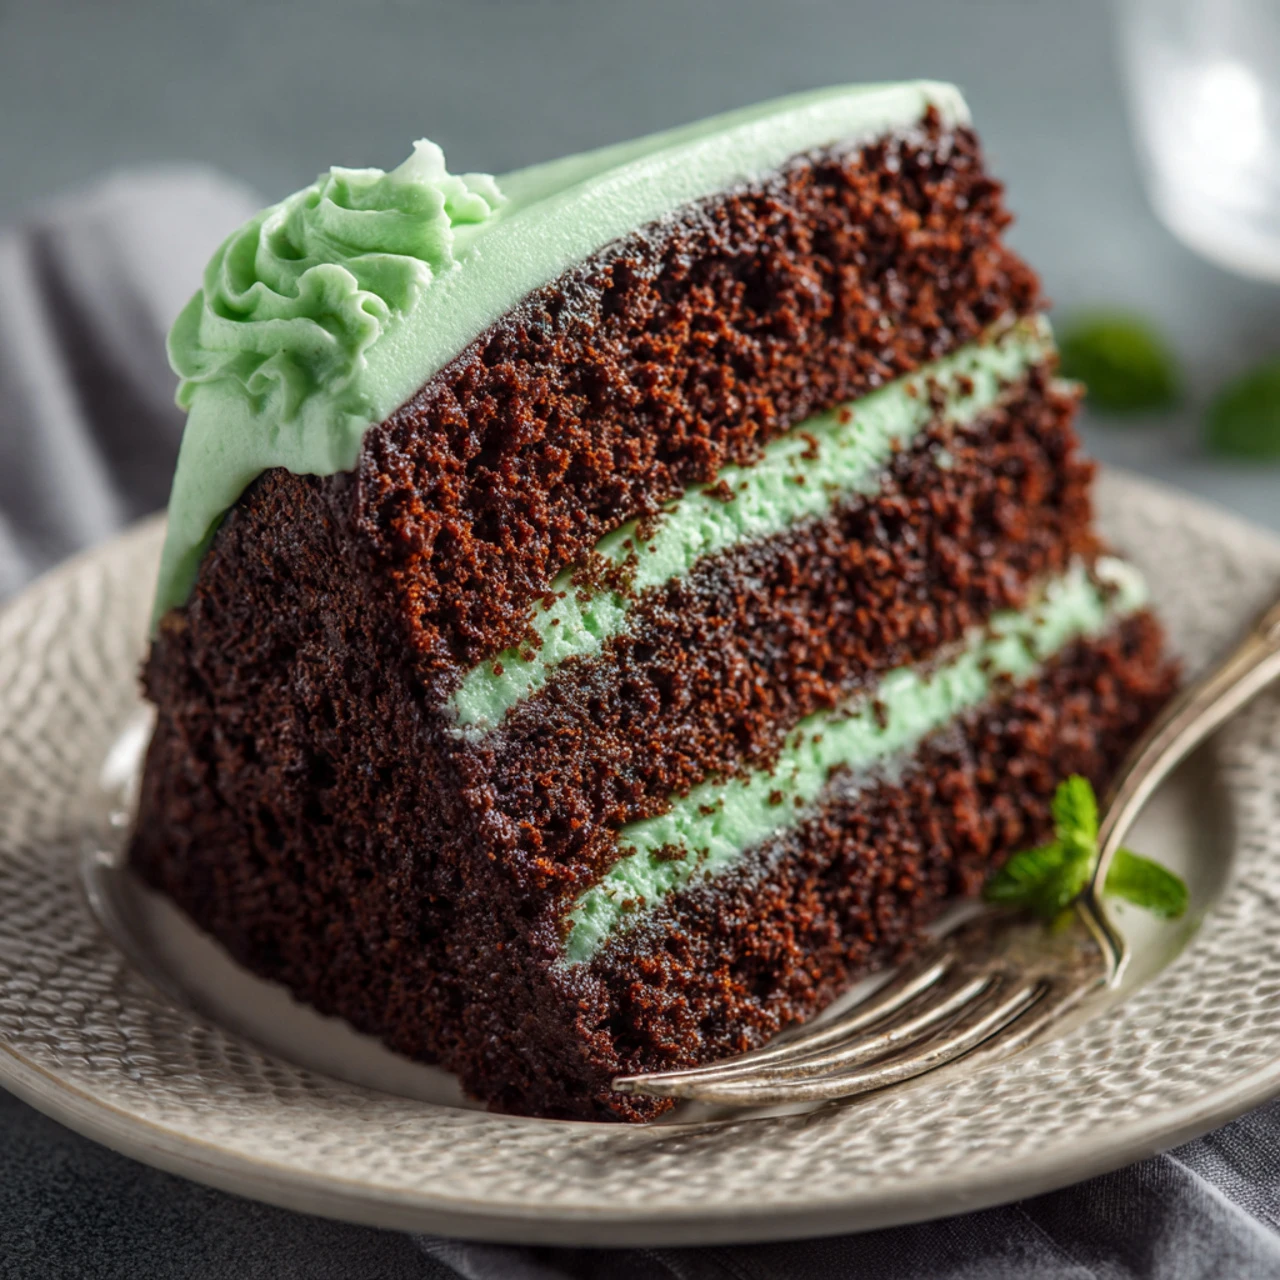
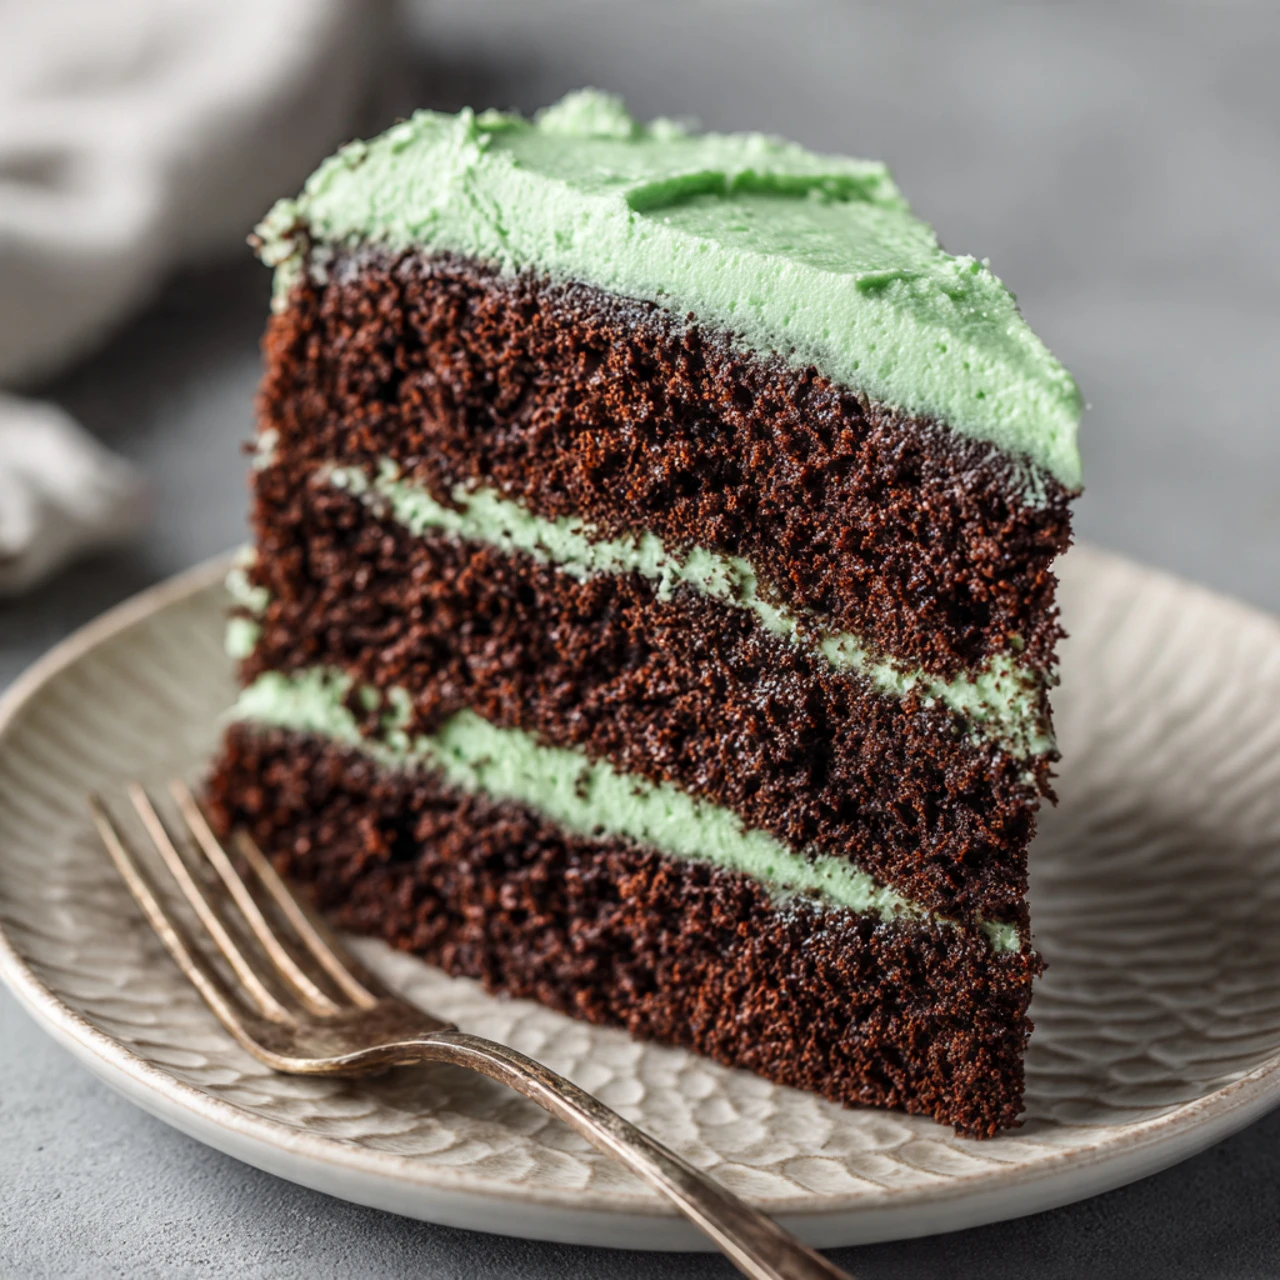
Chocolate Mint Cake (Rich, Refreshing Indulgence)
There’s something magical about the first forkful of chocolate and mint together—the cool, refreshing tingle of peppermint cutting through a deep, fudgy crumb. Growing up, this flavor combo always meant celebrations: a slice of cake after a long school year, a special dessert at Christmas, or that one birthday where everyone asked for the recipe before they even finished eating. It’s nostalgic, a little dramatic, and always unforgettable.
This chocolate mint cake leans into that memory while giving you a modern, bakery-quality finish at home. You get a moist, tender chocolate sponge, a silky mint buttercream, and just enough chocolate garnish to make it look like it came from a pastry case. Whether you’re baking for St. Patrick’s Day, a winter holiday table, or just a chocolate lover who can’t resist mint, this recipe delivers that “wow” moment every single time. Follow the steps and you’ll get tall, even layers, stable frosting, and a clean, professional-looking slice with bold flavor in every bite.
Jump to Recipe Card
Prep Time: 30 minutes | Cook Time: 30–35 minutes | Total: 1 hour 15 minutes (plus cooling)
Yield: 10–12 servings | Difficulty: Medium
Quick Stats Box
- Cuisine: American-inspired
- Course: Dessert
- Diet: Vegetarian (contains dairy and eggs)
- Best for: Birthdays, holidays, winter gatherings, special occasions
Why This Recipe Works
- Deep chocolate flavor – Uses cocoa plus hot liquid to “bloom” the cocoa, giving a richer, more intense chocolate taste in every bite.
- Moist, tender crumb – Buttermilk (or milk + acid) and oil keep the cake soft and plush, even after chilling.
- Balanced mint – Peppermint is measured so it tastes fresh and cool without overpowering the chocolate or tasting like toothpaste.
- Bakery-style finish – A simple layering method and easy chocolate garnish make the cake look professionally decorated with minimal tools.
- Make-ahead friendly – The cake layers and frosting can be prepared in advance, so assembly day is stress-free.
Ingredient Spotlight
- Cocoa powder: Unsweetened cocoa powder gives the cake its signature chocolate backbone; using a good-quality cocoa makes a huge difference in depth of flavor.
- Peppermint extract: A little goes a long way—use pure peppermint extract, not mint “flavor,” for a clean, bright taste without artificial aftertaste.
- Buttermilk: Adds gentle tang and helps create a tender crumb; you can make a quick substitute with milk and lemon juice or vinegar if needed.
Ingredients
For the Chocolate Cake:
- 1¾ cups all-purpose flour
- ¾ cup unsweetened cocoa powder (sifted)
- 1½ cups granulated sugar
- 1½ teaspoons baking powder
- 1½ teaspoons baking soda
- ½ teaspoon fine salt
- 2 large eggs, room temperature
- ½ cup neutral oil (vegetable, canola, or light olive oil)
- 1 cup buttermilk, room temperature (or milk with 1 tablespoon lemon juice, rested 10 minutes)
- 1 teaspoon vanilla extract
- ¾ cup hot water or hot coffee (for deeper chocolate flavor)
For the Mint Buttercream:
- 1 cup unsalted butter, softened to room temperature
- 3–3½ cups powdered sugar, sifted
- 2–3 tablespoons heavy cream or milk
- 1–1½ teaspoons peppermint extract (to taste)
- ½ teaspoon vanilla extract
- Pinch of salt
- A few drops green food coloring (optional, for classic mint color)
For Assembly & Garnish:
- 1–1½ cups chocolate chips or chopped chocolate (dark or semi-sweet) for the top/edges
- Extra mint leaves or crushed mint candies (optional)
Ingredient Notes
- Quality matters most: Use a good cocoa powder and real butter for best flavor and texture; they are the backbone of this cake.
- Room temperature is key: Let eggs, buttermilk, and butter come to room temperature so the batter emulsifies easily and bakes evenly.
- Don’t skip peppermint: Peppermint extract in the frosting is what brings the “mint” to the cake—without it, you just have chocolate cake with green frosting.
Essential Equipment
You’ll Need:
- Two 8-inch (or three 6-inch) round cake pans
- Mixing bowls (one large, one medium)
- Electric hand mixer or stand mixer with paddle attachment
- Whisk and rubber spatula
- Cooling racks
- Offset spatula or butter knife for frosting
Nice to Have:
- Parchment paper rounds for the bottom of pans (prevents sticking and gives clean layers)
- Cake turntable for easier frosting and smoothing
- Bench scraper or straight spatula for sharp sides
How to Make Chocolate Mint Cake (Step-by-Step)
Step 1: Prepare the pans and oven
Preheat your oven to 350°F (175°C). Grease your cake pans, line the bottoms with parchment paper, then lightly grease and flour the parchment for extra insurance. You’ll know the pans are ready when the sides feel lightly coated but not clumpy with flour.
Step 2: Mix the dry ingredients
In a medium bowl, whisk together the flour, cocoa powder, baking powder, baking soda, and salt until no streaks remain. The mixture should look even in color and texture with no visible lumps of cocoa. Pro tip: Sifting the cocoa first prevents dry pockets in the batter.
Step 3: Mix the wet ingredients
In a large bowl, whisk the sugar, eggs, and oil until the mixture looks slightly thickened and glossy. Add the buttermilk and vanilla and whisk again until completely smooth. It should look silky and homogeneous, without streaks of oil on top.
Step 4: Combine wet and dry
Add the dry mixture to the wet in 2–3 additions, gently whisking or folding with a spatula just until combined. The batter will be thick at this stage and a bit dense. Avoid overmixing to keep the crumb tender.
Step 5: Add the hot liquid
Carefully pour in the hot water or hot coffee while whisking slowly. The batter will loosen and become pourable and shiny. You’ll know it’s ready when it flows in a smooth ribbon off the whisk with no dry bits at the bottom of the bowl. Pro tip: Hot liquid helps “bloom” the cocoa, intensifying the chocolate flavor.
Step 6: Bake the cakes
Divide the batter evenly between your prepared pans. Tap each pan gently on the counter to release air bubbles. Bake for 28–32 minutes, or until a toothpick inserted in the center comes out with a few moist crumbs, not wet batter. The tops should spring back lightly when pressed.
Step 7: Cool completely
Let the cakes cool in their pans for about 10–15 minutes, then run a knife around the edge and turn them out onto cooling racks. Peel off the parchment and allow the layers to cool completely before frosting. The cakes should feel cool to the touch with no warmth in the center.
Step 8: Make the mint buttercream
In a large bowl, beat the softened butter until light and creamy, 2–3 minutes. Gradually add powdered sugar, 1 cup at a time, beating on low to combine and then on medium to fluff. Add 2 tablespoons of cream or milk, peppermint extract, vanilla, salt, and a drop or two of green food coloring if using. Beat until smooth, fluffy, and spreadable, adding more cream or powdered sugar as needed to adjust consistency. Pro tip: If frosting looks too airy and full of bubbles, beat on low for 1–2 minutes to smooth it out.
Step 9: Level and fill the cake
If your cake layers domed, gently level the tops with a serrated knife. Place the first layer on your serving plate or turntable. Spread a generous layer of mint buttercream over the top, going all the way to the edges. Add the second layer on top, pressing gently to settle. You should see a thin line of filling visible from the sides.
Step 10: Crumb coat and chill
Spread a thin layer of frosting over the entire cake (top and sides) to trap crumbs. This layer does not need to be perfect. Chill the cake for 15–20 minutes until the frosting feels firm to the touch. This makes the final coat much smoother and cleaner.
Step 11: Frost and decorate
Add a thicker, final layer of mint buttercream over the chilled cake, smoothing the top and sides. Press chocolate chips or chopped chocolate gently around the bottom edge, or sprinkle them over the top. You can pipe extra frosting swirls on top and finish with mint leaves or crushed mint candies.
[Process photos appear between each step for visual guidance]
Expert Tips & Tricks
- Temperature matters: Bake on the center rack and avoid opening the oven door in the first 20 minutes so the cake rises evenly without sinking.
- Don’t rush: Let the cake layers cool completely before frosting; even slightly warm cake can melt the buttercream and cause sliding layers.
- The secret to a moist crumb: Using oil plus buttermilk keeps the cake soft and tender, even if you refrigerate it overnight.
- Common mistake: Adding too much peppermint extract can make the cake taste medicinal; start with less, then add a drop at a time and taste.
- Test kitchen discovery: A brief chill after crumb coating gives the cleanest, most stable finish, especially if you’re transporting the cake.
Customization Ideas
Dietary Modifications:
- Gluten-free: Swap the all-purpose flour for a 1:1 gluten-free baking blend; avoid overmixing and let the batter rest 5–10 minutes before baking.
- Vegan: Use plant-based milk with vinegar instead of buttermilk, replace eggs with flax eggs (1 tablespoon ground flax + 3 tablespoons water per egg), and choose vegan butter for the frosting.
- Lower sugar: Reduce sugar in the cake by about ¼ cup and use slightly less powdered sugar in the frosting; the texture will still be pleasant but less sweet.
Flavor Variations:
- Mocha mint: Use strong hot coffee instead of water and add a pinch of espresso powder to boost chocolate and coffee notes.
- Triple chocolate: Fold mini chocolate chips into the cake batter before baking for pockets of melted chocolate.
- Holiday twist: Top with crushed candy canes or mint chocolates for a festive crunch.
Serving Styles:
- Traditional: Slice into wedges and serve on dessert plates with a little extra chocolate drizzle.
- Modern: Decorate with minimalist sides and a smooth top, then garnish with a small cluster of chocolate shards and mint leaves.
- Party-ready: Bake as a sheet cake, frost in the pan, and cut into squares for easy serving at potlucks or buffets.
Storage & Meal Prep
Make Ahead:
- Bake the cake layers up to 1–2 days ahead, wrap tightly in plastic, and store at room temperature.
- Make the frosting up to 2–3 days ahead and refrigerate in an airtight container; bring to room temperature and re-whip before using.
Storing:
- Counter: Keep the frosted cake covered at cool room temperature for up to 1 day if your kitchen isn’t too warm.
- Fridge: Store covered for 3–4 days; the crumb will stay moist, and the flavors meld beautifully.
- Freezer: Freeze unfrosted layers, well wrapped, for up to 2 months; thaw overnight in the fridge, then bring to room temperature before decorating.
Reheating for Best Results:
You don’t need to reheat slices, but letting chilled cake sit at room temperature for 20–30 minutes before serving softens the crumb and brings back the best texture and flavor.
What to Serve With Chocolate Mint Cake
Perfect Pairings:
- Beverage: Serve with hot coffee, espresso, or a mocha; the warmth and slight bitterness balance the sweetness and refreshingly cool mint.
- Side treat: Add a scoop of vanilla or mint-chip ice cream for a full dessert plate.
- Complementary flavor: Fresh berries on the side add brightness and a bit of acidity.
Complete the Meal:
- After a cozy pasta or roast chicken dinner, this cake makes a beautiful, indulgent finish.
- Pair with a light, fresh salad-based main so the dessert gets the spotlight.
- For parties, serve alongside other mini treats like brownies or truffles on a dessert table.
Nutrition Facts (Per Serving, estimated)
Calories: ~450 | Protein: ~5 g | Carbs: ~55 g | Fat: ~22 g | Fiber: ~3 g | Sugar: ~40 g | Sodium: ~300 mg
Note: Calculated using a generic nutrition calculator for similar chocolate layer cakes with buttercream. See your preferred tool for precise values based on your exact ingredients.
Your Questions Answered
Can I make this without buttermilk?
Yes. Mix regular milk with 1 tablespoon lemon juice or vinegar, let it sit 10 minutes, and use it as a buttermilk substitute.
Why did my cake sink in the middle?
This usually happens if the oven temperature is too low, the door was opened too early, or the batter was overmixed, trapping too much air that later collapses.
What’s the best oven temperature for this cake?
350°F (175°C) is ideal for even rise and a moist crumb without drying out the edges.
How do I keep it moist and not dry?
Measure flour correctly (spoon and level), avoid overbaking, and store the cake well wrapped; oil and buttermilk also help lock in moisture.
Can I double the recipe?
Yes. Bake in larger pans or make extra layers, but keep an eye on baking time, as thicker layers may need a few more minutes.
What if I don’t have peppermint extract?
You can use another mint extract, but start with less and taste; mint oils can be stronger than standard peppermint extract.
Recipe History & Cultural Context
Chocolate and mint as a pairing has roots in European confectionery, where herbal notes were often blended with chocolate in candies and after-dinner mints. Over time, that flavor combination moved into baked goods, from brownies to layer cakes, as home bakers started recreating their favorite candies in dessert form.
This style of chocolate mint cake is especially popular around winter holidays and celebrations, when rich chocolate desserts and refreshing mint flavors feel both nostalgic and festive. Whether you decorate it with simple chocolate shavings or go all out with candies and color, it carries that classic “after-dinner mint” vibe into a centerpiece dessert that feels familiar yet special.
Printable Recipe Card
Chocolate Mint Cake
A moist, rich chocolate layer cake with cool, creamy mint buttercream and chocolate garnish—perfect for celebrations and mint-chocolate lovers.
Ingredients
- 1¾ cups all-purpose flour
- ¾ cup unsweetened cocoa powder
- 1½ cups granulated sugar
- 1½ teaspoons baking powder
- 1½ teaspoons baking soda
- ½ teaspoon salt
- 2 large eggs
- ½ cup neutral oil
- 1 cup buttermilk
- 1 teaspoon vanilla extract
- ¾ cup hot water or hot coffee
- 1 cup unsalted butter, softened
- 3–3½ cups powdered sugar
- 2–3 tablespoons cream or milk
- 1–1½ teaspoons peppermint extract
- ½ teaspoon vanilla extract (for frosting)
- Pinch of salt
- Green food coloring (optional)
- 1–1½ cups chocolate chips or chopped chocolate for garnish
Instructions
- Preheat oven to 350°F (175°C). Grease and line two 8-inch cake pans with parchment; set aside.
- In a medium bowl, whisk flour, cocoa, baking powder, baking soda, and salt until well combined.
- In a large bowl, whisk sugar, eggs, and oil until glossy. Add buttermilk and vanilla; whisk until smooth.
- Add dry ingredients to wet in 2–3 additions, mixing just until combined.
- Slowly pour in hot water or coffee, whisking until batter is smooth and pourable.
- Divide batter between pans and bake 28–32 minutes, until a toothpick inserted in the center comes out with a few moist crumbs.
- Cool in pans 10–15 minutes, then turn out onto racks and cool completely.
- For frosting, beat butter until creamy. Gradually add powdered sugar, then cream or milk, peppermint extract, vanilla, salt, and food coloring if using. Beat until light and fluffy.
- Level cake layers if needed. Place first layer on serving plate, spread with frosting, then top with second layer.
- Apply a thin crumb coat of frosting and chill 15–20 minutes.
- Add a final layer of frosting, smooth sides and top, and decorate with chocolate chips or chopped chocolate.
Notes
- Start with less peppermint extract, taste, and add more a drop at a time.
- For deeper flavor, always use hot coffee instead of water.
- Cake layers and frosting can both be made 1–2 days ahead for easy assembly.
Chocolate Mint Cake
Indulge in the delightful combination of rich chocolate and refreshing mint with this Chocolate Mint Cake recipe. Perfect for any occasion, this dessert is a true crowd-pleaser that will leave your taste buds craving for more. The harmonious blend of decadent chocolate flavors and the cool essence of mint makes this cake a standout treat worth savoring.