Homemade Granola Bars
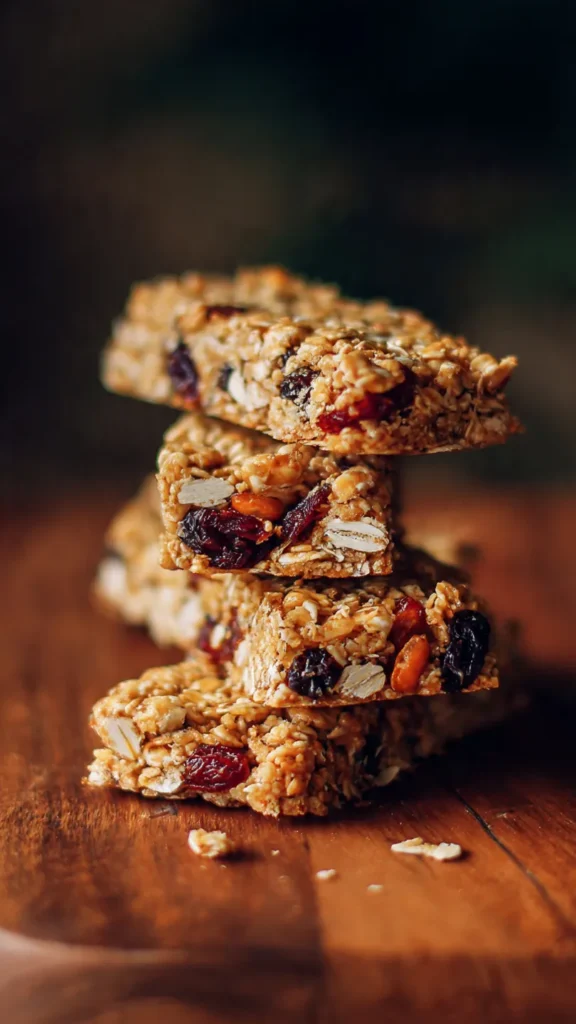
There’s something magical about homemade granola bars that store-bought versions just can’t replicate. These chewy, satisfying bars combine wholesome oats, creamy nut butter, and just the right amount of chocolate to create a snack that’s perfect for busy mornings, afternoon pick-me-ups, or post-workout fuel.
What makes this recipe truly special is its simplicity. With just seven pantry-friendly ingredients and no baking required, you can whip up a batch of delicious granola bars in minutes. The hardest part? Waiting for them to chill before diving in.
Why You’ll Love This Recipe
Unlike many granola bar recipes that require precise measurements and techniques, this one is wonderfully forgiving. The combination of honey and nut butter creates a naturally sticky base that holds everything together beautifully. The result is bars that are chewy without being overly dense, sweet without being cloying, and satisfying enough to keep you fueled for hours.
These bars also offer incredible versatility. While the base recipe is fantastic as written, you can easily customize the mix-ins to suit your taste preferences or dietary needs. Whether you’re looking for a quick breakfast option, a lunchbox treat, or a healthy snack to keep on hand, these granola bars deliver on all fronts.
The Secret to Perfect Granola Bars
The key to success with this recipe lies in two crucial elements: using the right consistency of nut butter and allowing adequate chilling time. Your nut butter should be smooth and pourable, not thick or separated. This ensures it can properly coat the oats and bind all the ingredients into cohesive bars. If your nut butter seems too thick, try stirring it thoroughly or warming it slightly before mixing.
The chilling step is equally important. While it’s tempting to cut into these bars immediately after pressing them into the pan, patience pays off here. A full hour in the refrigerator allows the honey and nut butter to set properly, transforming your oat mixture from a loose collection of ingredients into perfectly sliceable bars that hold their shape.
Ingredient Breakdown
Natural Nut Butter: This recipe calls for one cup of very smooth, creamy natural peanut butter or cashew butter. The nut butter serves multiple purposes—it binds the ingredients, adds protein and healthy fats, and contributes rich, nutty flavor. Make sure to use natural nut butter that’s smooth and runny, not the thick, dry stuff you might find at the bottom of a jar.
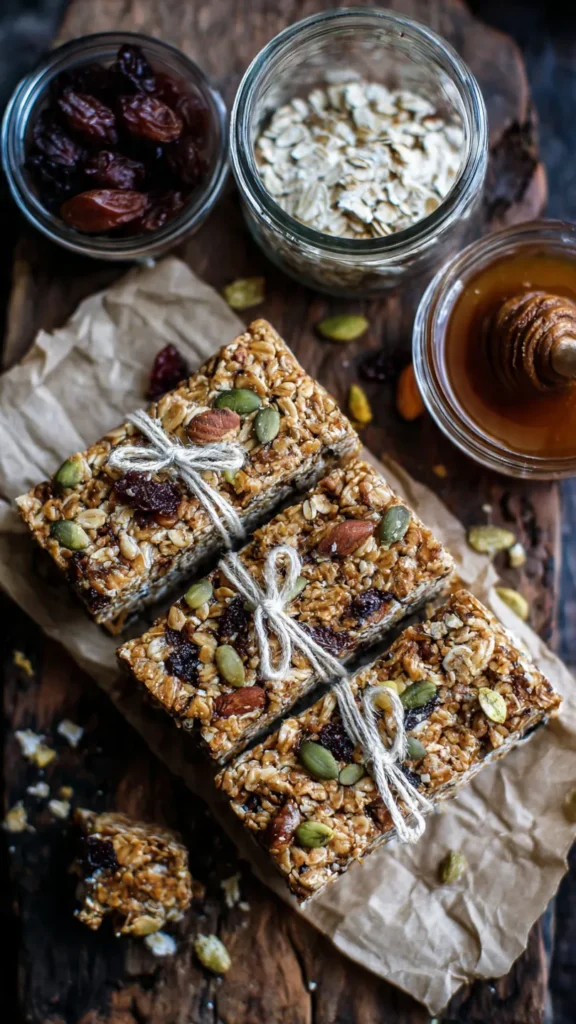
Honey: At two-thirds cup, honey provides sweetness while acting as a crucial binding agent. Its sticky nature helps hold the bars together, so don’t be tempted to reduce the amount too much. The natural sweetness also means you don’t need any refined sugar in this recipe.
Rolled Oats: Two and a half cups of whole rolled oats form the foundation of these bars, providing that classic chewy texture we all love. If you’re gluten-free, simply use certified gluten-free oats. The oats also add fiber and complex carbohydrates for sustained energy.
Vanilla Extract: Just one teaspoon of vanilla might seem small, but it makes a big difference in enhancing the warm, comforting flavors of the other ingredients.
Sea Salt: A heaping half teaspoon of salt balances the sweetness and makes all the flavors pop. Don’t skip this ingredient—it’s essential for preventing the bars from tasting one-dimensional.
Mini Chocolate Chips: One-third cup of mini chocolate chips adds those beloved pockets of chocolate throughout the bars. Regular-sized chips are too large and will prevent the bars from holding together properly, so stick with mini chips or finely chop dark chocolate as an alternative.
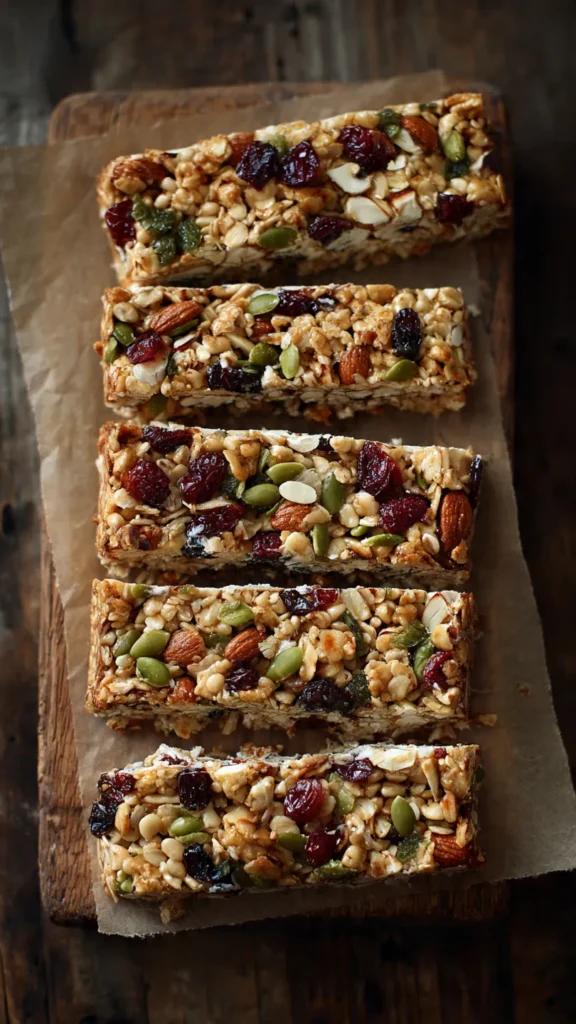
Pepitas or Nuts: Three tablespoons of pepitas, crushed peanuts, or cashews contribute crunch, protein, and healthy fats. This small amount provides texture without overwhelming the bars or making them too crumbly.
Step-by-Step Instructions
Begin by preparing your workspace. Line an eight-by-eight-inch baking pan with parchment paper, allowing some overhang on the sides. This makes it easy to lift the bars out of the pan later for clean slicing.
In a large mixing bowl, combine the peanut butter, honey, vanilla extract, and salt. Stir vigorously until the mixture becomes smooth and the honey is fully incorporated. This might take a minute or two of stirring, but the aroma alone makes it worthwhile. You’ll know it’s ready when the mixture is uniform and glossy.
Next, add your dry ingredients—the rolled oats, mini chocolate chips, and pepitas or nuts. At first glance, the mixture may appear too dry, and you might worry that it won’t come together. Don’t panic and don’t add extra liquid. Keep stirring with a sturdy spoon or spatula, and you’ll soon see the mixture transform into a cohesive mass as the nut butter and honey coat every piece.
Transfer the mixture to your prepared pan and begin pressing it down firmly. This step requires some elbow grease—you really want to compact the mixture as much as possible. Here’s a professional tip: place a second sheet of parchment paper over the top of the mixture, then use the flat bottom of a measuring cup or glass to press and smooth everything into an even layer. This technique gives you better leverage and creates a more uniform surface.
Now comes the hardest part: refrigeration. Transfer the pan to your refrigerator and let it chill for at least one hour. This waiting period is non-negotiable if you want bars that hold together properly. The cold temperature allows the honey and nut butter to firm up, transforming your pressed mixture into sliceable bars.
Customization Options
While the original recipe is delicious, feel free to experiment with different mix-ins. Shredded unsweetened coconut, chopped dried cranberries, sunflower seeds, and dried currants all work beautifully. Just remember to chop any additions into small pieces and maintain the same ratios—too many or too large mix-ins will prevent the bars from holding together.
For a vegan version, substitute brown rice syrup for the honey. If you can’t find brown rice syrup, maple syrup works, but it’s less sticky and won’t create firm bars. Instead, roll the mixture into energy balls for a perfectly delicious alternative format.
Storage and Serving
Once chilled, use the parchment paper overhang to lift the entire block out of the pan. Place it on a cutting board and slice into bars using a sharp knife. You can make them as large or small as you prefer, though most people find that cutting the block into sixteen bars creates the perfect portion size.
Store your bars in the refrigerator, either covered in the pan or transferred to an airtight container. If stacking them, place parchment paper between layers to prevent sticking. These bars will keep for up to one week in the fridge, or you can freeze them for up to two months. They’re delicious straight from the refrigerator, but if eating from frozen, let them sit at room temperature for about twenty minutes to soften slightly.
These homemade granola bars prove that healthy, delicious snacks don’t have to be complicated or time-consuming. With minimal effort and wholesome ingredients, you can create something far superior to anything you’d find at the store.