Salt River Bars

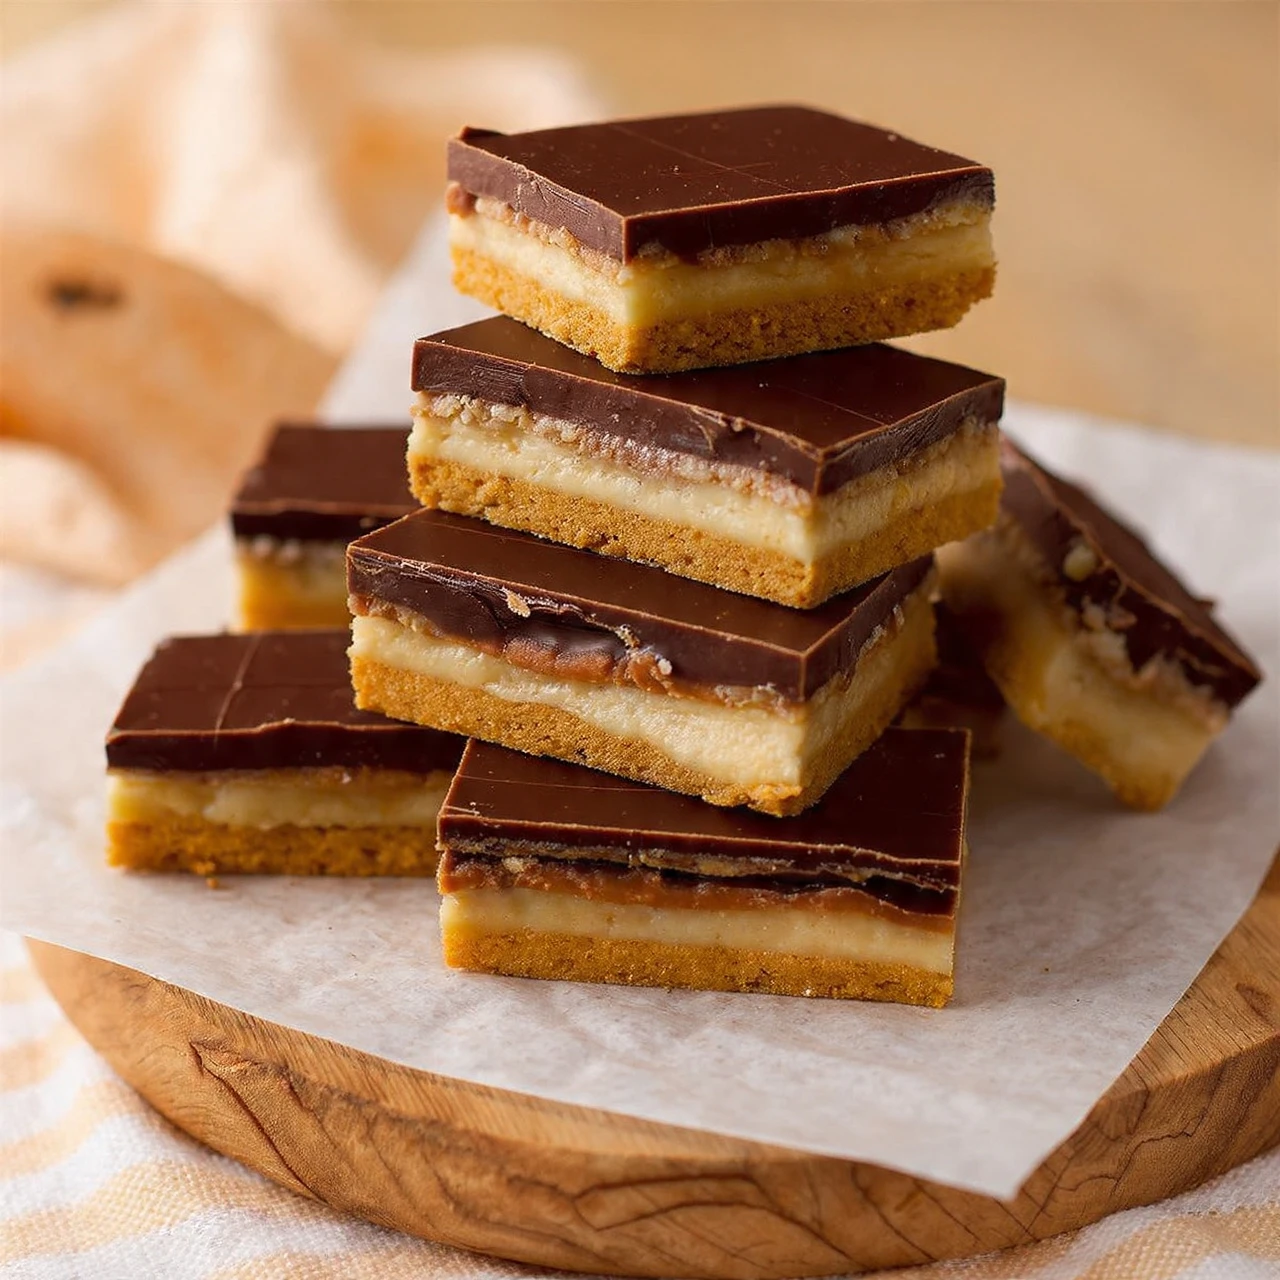
Salt River Bars are a delightful treat that combines the perfect balance of sweet and salty flavors, making them a favorite among snack enthusiasts. Imagine biting into a crunchy, salty-sweet bar that satisfies your taste buds with each bite. These bars are not only delicious but also easy to make at home, allowing you to enjoy them fresh whenever the craving strikes.
As a fan of homemade snacks, I discovered the joy of creating these Salt River Bars in my own kitchen. The aroma of caramelized sugar and butter wafting through the air as they bake is simply irresistible. The simplicity of the ingredients and the quick preparation time make this recipe a go-to for satisfying my sweet tooth or impressing guests with a unique dessert offering.
Whether you’re craving a simple snack or looking for a crowd-pleasing dessert, Salt River Bars are the perfect choice. In this article, I will walk you through a step-by-step guide on how to create these delectable bars in your own kitchen, ensuring that you achieve the perfect balance of flavors and textures every time.
Recipe Quick Reference Module
Time Breakdown: Prep: 15 mins | Active: 30 mins | Total: 45 mins
Output: 12 servings | Skill Level: Beginner
At-a-Glance Details:
Origin cuisine: American
Meal category: Snack/Dessert
Dietary tags: Vegetarian
Ideal occasion: Anytime snack, potluck, dessert table
Value Proposition Points:
Texture achievement — “Achieves the perfect balance of chewy and crunchy textures”
Time efficiency — “Ready in under an hour from start to finish”
Flexibility feature — “Easily customizable with various toppings and mix-ins”
Technique insight — “Includes a foolproof method for creating a smooth caramel layer”
Context fit — “Suitable for both casual snacking and special occasions”
Featured Ingredient Analysis
One of the critical ingredients in Salt River Bars is the salted caramel, which provides the signature sweet and salty flavor profile. It is essential to use high-quality sea salt to enhance the contrast of flavors. Additionally, the butter plays a crucial role in creating a rich and buttery base for the bars. Make sure to use unsalted butter for better control of the saltiness.
Ingredient List
Primary Component [Base]:
1 cup unsalted butter, melted
1 cup brown sugar, packed
2 cups all-purpose flour
1 tsp vanilla extract
Secondary Component [Topping]:
1 cup semi-sweet chocolate chips
Sea salt for sprinkling
Tool & Equipment Section
Required Items:
9×13 inch baking pan — standard size
Mixing bowls — for combining ingredients
Whisk or spatula — for mixing the dough
Parchment paper — for lining the baking pan
Preparation Method
Step 1: Preheat the oven to 350°F and line a 9×13 inch baking pan with parchment paper.
Step 2: In a mixing bowl, combine the melted butter, brown sugar, flour, and vanilla extract until a crumbly dough forms.
Step 3: Press the dough into the prepared baking pan, creating an even layer.
Step 4: Bake the base layer for 20-25 minutes until lightly golden brown.
Step 5: Remove from the oven and sprinkle the chocolate chips over the hot base. Let them sit for a few minutes to melt.
Step 6: Using a spatula, spread the melted chocolate evenly over the base.
Step 7: Sprinkle sea salt over the chocolate layer and allow the bars to cool completely before cutting into squares.
Professional Guidance Section
Temperature Control: Bake the bars at 350°F for the perfect balance of gooey and crispy textures.
Timing Patience: Allow the bars to cool completely before cutting to ensure clean edges and smooth cuts.
Texture Achievement Secret: Press the dough firmly into the pan to create a sturdy base for the toppings.
Avoid This Error: Avoid overbaking the base layer to prevent it from becoming too hard.
Testing Insight: Perform a toothpick test to ensure the base is fully baked before adding the toppings.
Adaptation & Variation Guide
Dietary Adjustments:
Gluten-Free Conversion: Substitute the all-purpose flour with gluten-free flour blend.
Plant-Based Version: Use vegan butter and dairy-free chocolate chips for a plant-based option.
Reduced Sugar Option: Reduce the amount of brown sugar for a lighter sweetness level.
Flavor Transformations:
Spiced Version: Add a pinch of cinnamon to the dough for a warm, comforting flavor.
Nutty Edition: Sprinkle chopped nuts over the chocolate layer for added crunch.
Complementary Serving Suggestions

Ideal Pairings:
Serve the Salt River Bars with a glass of cold milk for a classic snack combination.
Pair them with a scoop of vanilla ice cream for a decadent dessert experience.
Menu Building:
Create a dessert platter with Salt River Bars, brownies, and fruit tarts for a variety of sweet options.
Offer a mix of salty snacks like popcorn and pretzels alongside the bars for a balanced snack spread.
Nutritional Information (Single Serving)
Calories: 280 | Protein: 2g | Carbohydrates: 35g | Fat: 15g | Fiber: 1g | Sugar: 20g | Sodium: 180mg
Reader FAQ Module
Q: Can I make this without a 9×13 inch baking pan?
A: Yes, you can use a similar-sized baking dish or adjust the baking time accordingly.
Q: How do I prevent the chocolate from seizing when melting?
A: Make sure to melt the chocolate slowly over low heat or using a double boiler to prevent seizing.
Q: Can I freeze the Salt River Bars for later consumption?
A: Yes, you can freeze the bars in an airtight container for up to 1 month. Thaw before serving.
Q: What’s the best way to store leftovers?
A: Store the bars in an airtight container at room temperature for up to 5 days for optimal freshness.
Q: Can I add nuts or dried fruits to the dough?
A: Yes, you can customize the bars by adding your favorite nuts or dried fruits to the dough for added texture and flavor.
Background & Heritage Context
The origins of Salt River Bars can be traced back to traditional American baking techniques that aimed to create simple yet satisfying snacks for families to enjoy. The combination of buttery dough, sweet caramel, and chocolate toppings reflects a rich history of homemade treats passed down through generations. These bars evoke a sense of nostalgia and comfort, making them a beloved addition to any dessert table or afternoon snack spread.
Geographic variations in the recipe may include regional preferences for different types of chocolate or variations in the salt used for sprinkling. Each family may have its own twist on the classic Salt River Bars, adding personal touches that make the recipe uniquely theirs. Whether enjoyed during holidays, family gatherings, or as an everyday indulgence, these bars hold a special place in American baking traditions.
The ceremonial significance of Salt River Bars lies in their versatility as a snack, dessert, or even a homemade gift for loved ones. The process of making these bars can be a bonding experience for families, with each member contributing to the creation of a delicious treat to share. The generational traditions associated with Salt River Bars highlight the enduring appeal of simple yet flavorful homemade snacks that bring joy to all who taste them.
Salt River Bars
Salt River Bars are a delightful treat that combines the perfect balance of sweet and salty flavors. These bars are easy to make at home, offering a satisfying snack or dessert option for any occasion.
Ingredients
-
1 cup unsalted butter, melted
-
1 cup brown sugar, packed
-
2 cups all-purpose flour
-
1 tsp vanilla extract
-
1 cup semi-sweet chocolate chips
-
Sea salt for sprinkling
Directions
-
Preheat the oven to 350°F and line a 9×13 inch baking pan with parchment paper.
-
In a mixing bowl, combine the melted butter, brown sugar, flour, and vanilla extract until a crumbly dough forms.
-
Press the dough into the prepared baking pan, creating an even layer.
-
Bake the base layer for 20-25 minutes until lightly golden brown.
-
Remove from the oven and sprinkle the chocolate chips over the hot base. Let them sit for a few minutes to melt.
-
Using a spatula, spread the melted chocolate evenly over the base.
-
Sprinkle sea salt over the chocolate layer and allow the bars to cool completely before cutting into squares.