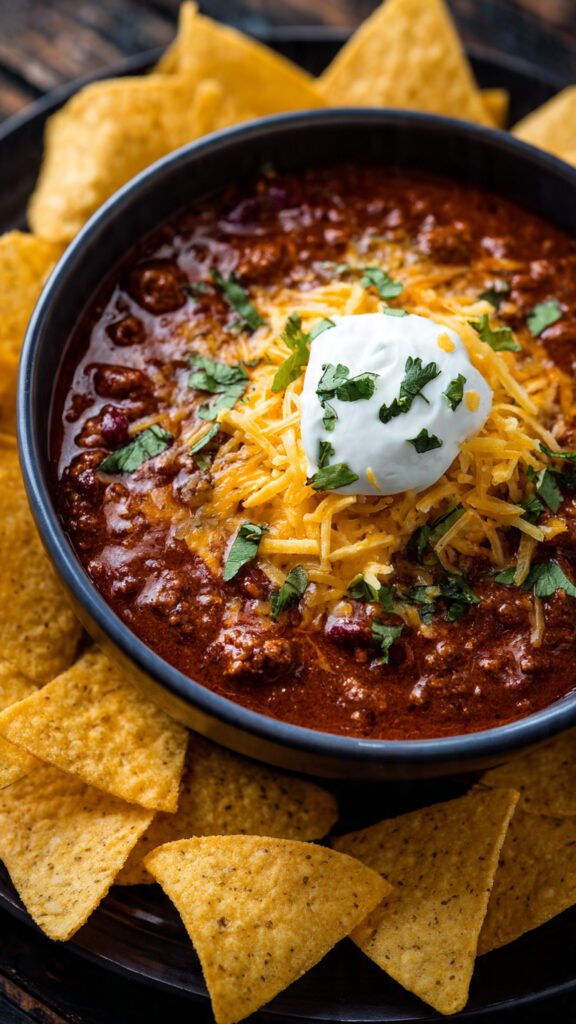
Chili Cheese Dip: A Game Day Crowd-Pleaser

When it comes to party appetizers that deliver maximum flavor with minimal effort, few dishes can compete with a bubbling hot bowl of Chili Cheese Dip. This irresistible combination of seasoned chili, melted cheeses, and zesty salsa creates a creamy, savory dip that disappears faster than you can say “touchdown.” Whether you’re hosting a Super Bowl party, tailgating before the big game, or simply craving comfort food, this recipe is your ticket to appetizer glory.
Why This Recipe Works
What makes this chili cheese dip stand out from the countless variations floating around the internet? The secret lies in its perfect balance of flavors and textures. By combining quality canned chili with three types of cheese—cream cheese for richness, sharp cheddar for depth, and pepper jack for a subtle kick—you create layers of flavor that keep guests coming back for more. The addition of chunky salsa adds freshness and acidity that cuts through the richness, preventing the dip from feeling too heavy.
Unlike complicated appetizers that require hours of preparation, this dip comes together in just 20 minutes. It’s the kind of recipe that makes you look like a culinary genius without actually requiring advanced cooking skills. The stovetop method ensures even melting and proper incorporation of all ingredients, resulting in a smooth, velvety texture that clings perfectly to tortilla chips.
The Perfect Occasion Dish
This versatile dip shines at virtually any gathering. Game day parties are its natural habitat, where hungry fans need substantial snacks that can be eaten one-handed while cheering for their team. The warm, comforting nature of melted cheese paired with hearty chili makes it ideal for fall and winter gatherings, though honestly, cheese dip knows no season.
Holiday parties benefit from having this reliable crowd-pleaser on the menu. While fancy hors d’oeuvres have their place, sometimes guests just want something familiar and delicious. This dip delivers on both counts, satisfying everyone from picky eaters to adventurous foodies. It’s also budget-friendly enough for casual get-togethers yet impressive enough for more formal occasions.
Ingredients You’ll Need
Main Components
30 ounces canned chili without beans forms the hearty base of this dip. Wolf brand chili works beautifully, but feel free to use your preferred brand. The “no beans” variety is crucial here—it creates a smoother consistency that’s easier to scoop and doesn’t compete with the cheese for textural dominance.
½ cup chunky salsa brings brightness and depth to the mix. Choose your heat level based on your crowd’s preferences. Pace brand salsa offers reliable quality and consistent flavor, but any quality salsa works well. The chunks add textural interest and help prevent the dip from becoming monotonous.
The Cheese Trio
4 ounces cream cheese must be softened and cubed before adding. This ingredient is your secret weapon for achieving that luxuriously creamy consistency. The cream cheese melts into the chili base, creating a smooth foundation that binds everything together while adding tangy richness.
2½ cups freshly shredded mild cheddar cheese provides the classic cheese flavor everyone expects. Shredding your own cheese from a block is worth the extra effort—pre-shredded cheese contains anti-caking agents that can result in a grainy texture. Reserve ½ cup for garnishing the top, giving your dip that irresistible melted cheese appearance.
1 cup freshly shredded pepper jack cheese introduces subtle heat and complexity. The pepper jack melts beautifully while distributing tiny flavor pockets throughout the dip. If you prefer a milder version, substitute with more cheddar or Monterey Jack.
2 tablespoons freshly chopped cilantro serves as an optional garnish. This bright herb adds a pop of color and freshness that elevates the presentation from basic to beautiful.
Step-by-Step Instructions
Building Your Base
Begin by adding both cans of chili to a 4-5 quart saucepan over medium heat. Stir constantly to prevent sticking and ensure even heating. This initial step warms the chili and prepares it to receive the other ingredients. Constant stirring is essential—it prevents hot spots and scorching that can ruin the flavor.
Once the chili is warm, stir in the chunky salsa. Continue stirring frequently for 5-8 minutes until the chili and salsa are completely combined and heated through. You’ll notice the mixture becoming more fluid as it heats, making it easier to incorporate the cheeses later.
Incorporating the Cheeses
Keep the heat on medium and add the softened, cubed cream cheese. This is where patience pays off. Stir constantly, using your spoon or spatula to gently mash the cream cheese cubes against the side of the pan. This technique helps them melt faster and incorporate more smoothly. The mixture will transform from chunky to creamy as the cream cheese melts completely.
Next comes the 2 cups of shredded cheddar cheese. Add it gradually while stirring constantly. The cheese will begin melting immediately in the hot chili mixture. Continue stirring until every strand has melted and the mixture is smooth and glossy. This process usually takes 2-3 minutes.
Finally, stir in the shredded pepper jack cheese using the same constant stirring method. Once the pepper jack has melted completely, remove the pan from heat. The residual warmth will continue gently heating the dip without risking separation or graininess.
Finishing Touches
Top your beautiful creation with the reserved ½ cup of cheddar cheese and sprinkle with freshly chopped cilantro. The cheese on top will melt slightly from the heat below, creating an appetizing appearance. Serve immediately with corn chips, tortilla chips, or even toasted baguette slices.
Storage and Reheating Tips
Store leftover chili cheese dip covered in the refrigerator for up to 2 days. Use an airtight container to prevent the dip from absorbing other refrigerator odors and to maintain freshness.
To reheat, you have two options. The stovetop method works best: place the dip in a saucepan over low heat, stirring occasionally until warmed through. If the dip has thickened during storage, add a splash of milk or cream to restore its original consistency.
For microwave reheating, use 30-second intervals at medium power, stirring between each interval. This prevents hot spots and ensures even heating throughout.
Creative Variations
Make It Meatier
Transform this dip into a heartier appetizer by adding cooked ground beef, chicken, or turkey. Brown 1 pound of your chosen meat with taco seasoning, drain any excess fat, and stir it into the chili before adding the cheeses. This creates a more substantial dip that can even serve as a casual dinner option over rice or baked potatoes.
Spice It Up
For heat lovers, several options exist. Mix in your favorite hot sauce, add extra chili powder, or top with diced jalapeños. Fresh jalapeños provide crunch and bright heat, while pickled jalapeños add tangy spiciness. Start conservatively—you can always add more heat, but you can’t take it away.
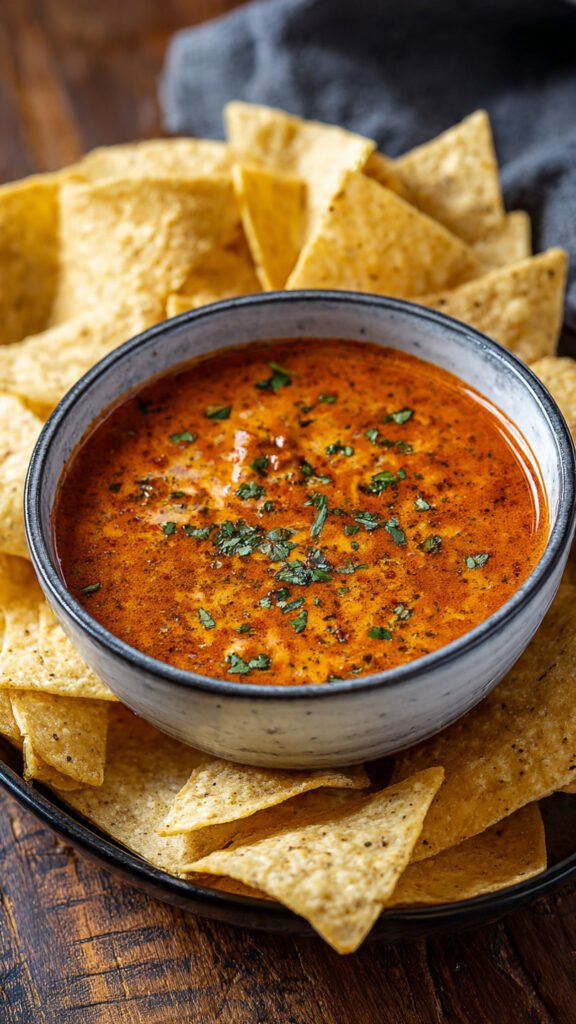
The Rotel Route
Swap the salsa for a can of Rotel tomatoes to create a Rotel chili cheese dip variation. This substitution offers a different flavor profile with more tomato presence and consistent heat distribution throughout the dip.
Serving Suggestions
While tortilla chips are the obvious choice, consider offering variety. Sturdy corn chips hold up best under the dip’s weight. Provide fresh vegetables like bell pepper strips, celery sticks, and carrot sticks for guests seeking lighter options. Soft pretzels, crackers, and toasted baguette slices also make excellent vehicles for this delicious dip.
This Chili Cheese Dip proves that simple ingredients, properly combined, create extraordinary results. Its foolproof preparation and crowd-pleasing flavors make it a recipe you’ll return to again and again.