Cauliflower Pizza Crust
If you’ve been searching for a way to enjoy pizza without the carb overload, cauliflower pizza crust is your answer. This gluten-free, keto-friendly alternative delivers a satisfying pizza experience while keeping your health goals on track. Whether you’re following a low-carb lifestyle, managing gluten sensitivities, or simply looking to incorporate more vegetables into your diet, this recipe transforms humble cauliflower into a delicious pizza base that rivals traditional dough.
The beauty of this cauliflower crust lies in its versatility and nutritional profile. With only 56 calories per serving and just 4 grams of carbohydrates, you can indulge in pizza night guilt-free. The combination of cauliflower, cheese, and herbs creates a flavorful foundation that holds up beautifully under your favorite toppings.
What You’ll Need
Main Ingredients
- 1 small to medium head of cauliflower (yields approximately 2 cups when processed)
- ½ teaspoon dried basil
- ¼ teaspoon dried oregano
- 1 teaspoon garlic salt (or substitute with ¼ teaspoon regular salt plus ¼ teaspoon garlic powder)
- ⅓ cup freshly shredded parmesan cheese
- ⅓ cup shredded mozzarella cheese
- 1 large egg
- Pizza sauce and your preferred toppings
Time-Saving Option
For busy weeknights, consider using pre-riced cauliflower from stores like Trader Joe’s. This convenient shortcut eliminates the processing step while delivering identical results. Both fresh and frozen riced cauliflower work perfectly in this recipe.
Step-by-Step Instructions
Preparation Phase
Begin by preheating your oven to 450 degrees Fahrenheit. This high temperature is crucial for achieving a crispy, golden-brown crust that won’t turn soggy under your toppings.
Line a standard cookie sheet with parchment paper and spray it generously with non-stick butter spray. Alternatively, use a silicone baking mat, which provides excellent non-stick properties and can be reused countless times. These mats are invaluable kitchen tools that eliminate waste and ensure easy release every time.
Processing the Cauliflower
If working with a whole cauliflower head, remove the florets by cutting them away from the thick central stem. Try to minimize the amount of stem included, as it contains more moisture and can affect the texture of your crust. Place the florets into your food processor.
The “ricing” process requires a gentle touch. Pulse the food processor in short, quick bursts rather than running it continuously. You’re aiming for a rice-like texture with small, grain-sized pieces. Over-processing will turn your cauliflower into a puree, which won’t work for this recipe. Check the consistency frequently between pulses. The finished product should resemble couscous or quinoa in size and texture.
Removing Excess Moisture
Transfer the riced cauliflower to a microwave-safe bowl and microwave for approximately 4 minutes. This cooking step softens the cauliflower and releases trapped moisture, making the next crucial step more effective.
Here’s where the magic happens: removing as much water as possible from the cauliflower. Spread the cooked cauliflower onto clean kitchen towels or several layers of paper towels. Once it’s cool enough to handle, gather the towel edges and twist firmly, wringing out every drop of liquid you can. This step cannot be overstated—the drier your cauliflower, the crispier and more structurally sound your crust will be. Really put some muscle into it and squeeze until you think you’ve gotten all the water out, then squeeze a bit more.
Mixing the Dough
Place your thoroughly dried cauliflower into a clean mixing bowl. Add the dried basil, oregano, garlic salt (or salt and garlic powder), parmesan cheese, mozzarella cheese, and egg. Using your hands or a sturdy spoon, mix everything together until well combined. The mixture should hold together when pressed and form a cohesive ball.
The herbs and cheeses do double duty here—they add incredible flavor while also acting as binders that help hold the crust together. The egg serves as the primary binding agent, creating structure similar to traditional pizza dough.
Shaping Your Crust
Form the mixture into a ball using your hands, then place it in the center of your prepared baking sheet. Press and flatten the mixture outward, shaping it into a round pizza form. Aim for a thickness of about ¼ to ⅜ inch—not too thick, which will prevent proper cooking, and not too thin, which may cause the crust to crumble.
Pay special attention to creating an even thickness throughout. Thinner spots will cook faster and potentially burn before the rest of the crust is ready, while thicker areas may remain undercooked and soggy.
Initial Baking
Slide your cookie sheet into the preheated oven and bake for approximately 15 minutes, or until the edges begin developing a beautiful golden-brown color and the center feels set to the touch. Halfway through the baking time, carefully flip the crust over using a large spatula. This flipping technique ensures even browning on both sides and helps eliminate any remaining moisture, resulting in a crispier final product.
After flipping, bake for an additional few minutes until the second side achieves similar browning. Remove from the oven and allow the crust to cool for 2-3 minutes before adding toppings. This brief cooling period helps the crust set fully and makes it easier to handle.
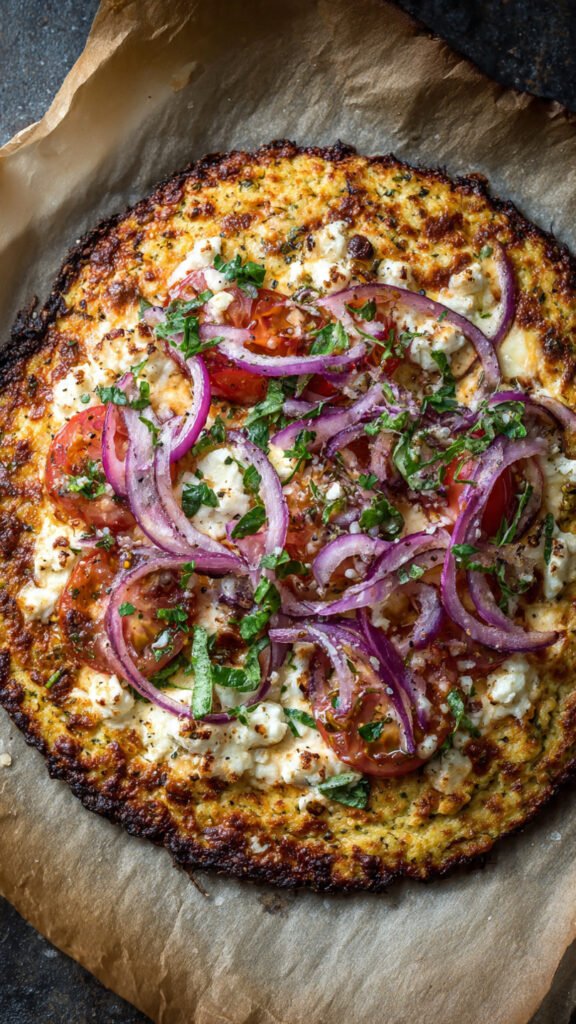
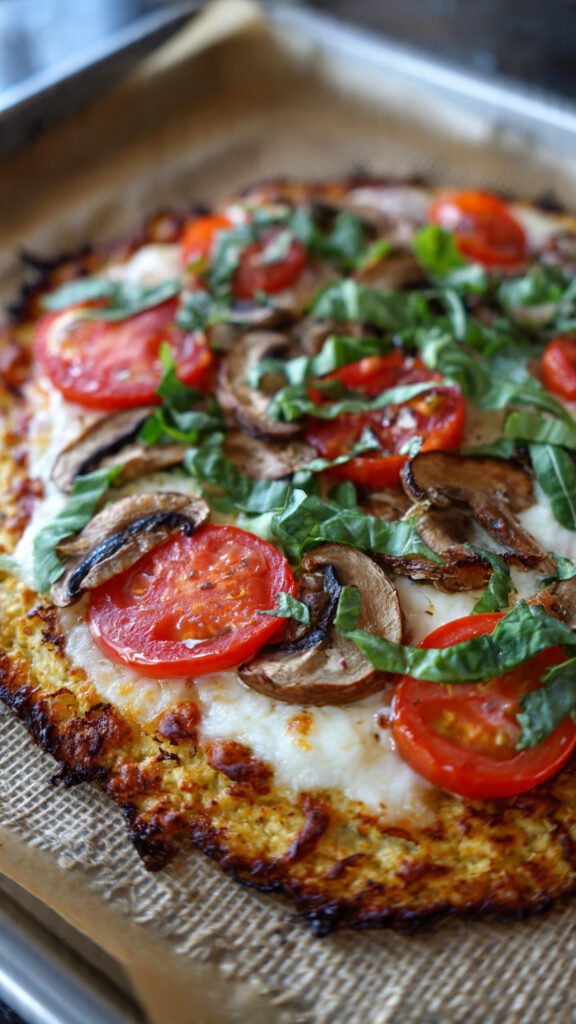
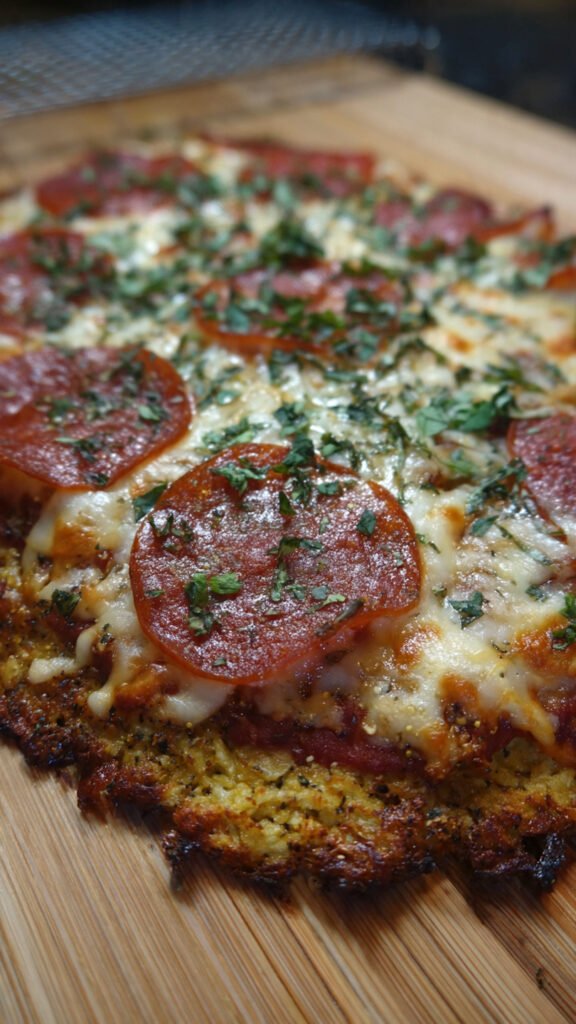
Adding Toppings and Final Bake
Now comes the fun part—customizing your pizza! Reduce the oven temperature to 350 degrees Fahrenheit. Spread your favorite pizza sauce over the crust, leaving a small border around the edges. Add your chosen toppings, keeping in mind that too many heavy toppings may overwhelm the crust.
Return the topped pizza to the oven and bake for 3-5 minutes, just until the cheese melts and begins showing spots of golden brown. The lower temperature prevents the crust from burning while giving your toppings time to heat through perfectly.
Storage and Reheating
Refrigeration
Store leftover cauliflower pizza crust in an airtight container in the refrigerator for 3-5 days. The crust maintains its texture remarkably well when properly stored, making it excellent for meal prep.
Freezing
For longer storage, cauliflower pizza crust freezes beautifully for up to 3 months. Allow the crust to cool completely after the initial bake (before adding toppings). Wrap each crust individually in plastic wrap or place wax paper between multiple crusts to prevent sticking. Store in freezer-safe bags, removing as much air as possible.
Reheating Tips
For the best texture when reheating, use your oven rather than the microwave. Place the crust on a pizza stone or baking sheet and warm at 350 degrees until heated through. A pizza stone works especially well, as it helps restore crispiness to the crust.
Professional Tips for Perfect Results
The key to success with cauliflower pizza crust lies in the details. Rice your cauliflower into uniformly small pieces for even cooking and better texture. When squeezing out moisture, don’t hold back—this is the single most important step for achieving a crispy, non-soggy crust.
The flipping technique during baking ensures both sides develop that desirable golden-brown color and crunch. If you own a pizza stone, definitely use it. One helpful reader suggestion: bake the crust initially on parchment paper, then after flipping, transfer it directly onto a preheated pizza stone for the remainder of the baking time. This prevents sticking while maximizing crispiness.
Nutritional Benefits
Each serving of this cauliflower pizza crust provides 56 calories, 4g carbohydrates, 5g protein, and 3g fat. It’s also an excellent source of vitamin C (35mg), calcium (94mg), and provides beneficial amounts of potassium, vitamin A, and iron. The high fiber content (1g per serving) aids digestion, while the low sodium content (416mg) makes it suitable for various dietary needs.
This recipe proves that healthy eating doesn’t mean sacrificing the foods you love—it just means finding creative, nutritious alternatives that satisfy your cravings while supporting your wellness goals.